Best Ceiling Support Arms for Stabilizing Tall Walk-In Glass Panels
Selecting the best Ceiling Support Arms for Stabilizing Tall Walk-In Glass Panels is a critical step in ensuring bathroom safety and long-term structural integrity. When you install a floor-to-ceiling or oversized glass screen, the weight of the material can cause significant stress on the mounting points if not properly braced. These support arms provide the necessary rigidity to prevent wobbling, cracking, or catastrophic failure of your heavy glass panels.
By choosing the right hardware, you ensure that your frameless shower remains stable, secure, and visually appealing for years to come. This article explores the essential features, installation considerations, and material choices that define top-tier support solutions for your home.
Determining Structural Requirements for Tall Glass
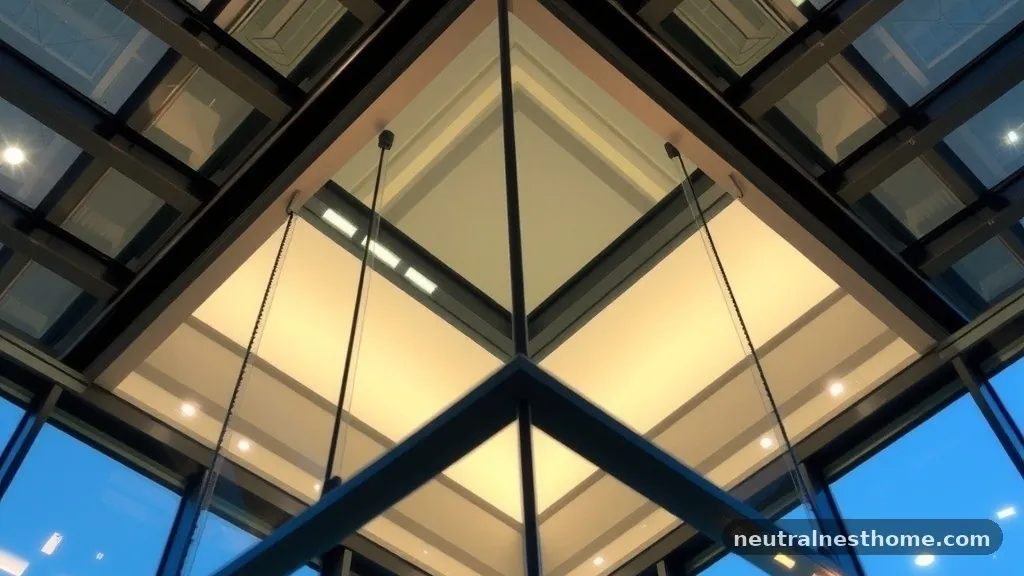
Tall, frameless glass panels require more than just silicone and wall clips to remain stable. Because glass is heavy and brittle, any lateral movement can lead to stress fractures, especially near the mounting holes.
A ceiling support arm acts as a tension-loaded anchor, transferring the weight and force away from the wall and distributing it vertically. For panels exceeding 80 inches in height, a ceiling-mounted brace is often mandatory for building code compliance in many jurisdictions.
When evaluating your setup, consider the thickness of your glass. Most residential panels use 3/8-inch or 1/2-inch tempered glass, which is incredibly heavy.
A support bar must be able to clamp securely onto the top edge without causing point-load pressure that could chip the glass. Look for hardware that includes clear, high-density gaskets to protect the surface of the glass while maintaining a tight grip.
Comparing Material Finishes and Aesthetics
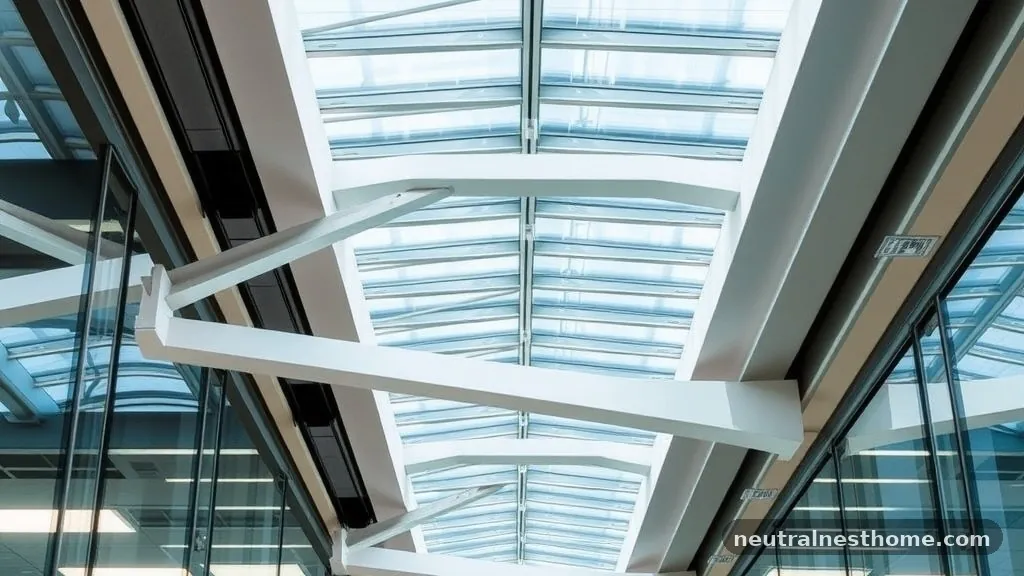
The visual impact of your shower hardware is just as important as its function. Most manufacturers produce support bars in finishes that match standard bathroom fixtures, allowing for a cohesive design throughout the space.
Brushed nickel remains a popular choice because it resists water spots and hides fingerprints effectively. For a modern, minimalist look, matte black has become the industry standard in high-end renovations.
Chrome offers a high-gloss, reflective surface that works well in traditional bathrooms. If you are aiming for a luxurious, warm aesthetic, satin brass is a sophisticated alternative that has seen a resurgence in popularity.
Always ensure that the finish on your support arm matches your existing wall clips and door handles. Mixing metallic tones can create a disjointed look that detracts from the clean lines of a frameless shower installation.
| Finish Type | Durability Level | Maintenance Needs | Best Style Fit |
|---|---|---|---|
| Matte Black | High (Powder Coated) | Low | Modern/Industrial |
| Brushed Nickel | High (PVD/Plated) | Low | |
| Chrome | Medium (Plated) | High | Traditional |
| Satin Brass | Medium (PVD) | Medium | Luxury/Vintage |
Key Features of Quality Support Hardware
When shopping for the best Ceiling Support Arms for Stabilizing Tall Walk-In Glass Panels, focus on adjustability. A fixed-length bar is rarely sufficient because ceiling heights and glass placement vary by fractions of an inch.
Telescopic bars allow you to slide the inner rod to the exact length required before locking it into place with a set screw. This flexibility makes the installation process significantly faster and more forgiving.
Another feature to prioritize is the mounting method at the ceiling. A solid brass or high-grade stainless steel flange is essential for a secure connection to the ceiling structure.
Avoid plastic or lightweight alloy components, as they may flex over time, leading to a loose glass panel. Ensure that the kit includes heavy-duty anchors that can bite into drywall or wood blocking, as this is the primary point of failure for many shower supports.
Installation Best Practices for Safety
Installing a ceiling support arm starts with finding a stud or wood blocking in the ceiling. You cannot rely on drywall anchors alone to hold the weight of a heavy glass panel.
Use a stud finder to locate the joist and verify its position before you drill into your ceiling tile or plaster. If the support arm location does not align with a joist, you may need to install a piece of blocking between the joists to create a secure mounting point.
Once the ceiling mount is secure, attach the clamp to the glass panel. Do not overtighten the set screws on the glass clamp, as this can create a stress point that causes the glass to shatter.
Tighten the screws until they are snug and the bar is stationary, then give them a final quarter-turn. For those who want to learn more about the technical requirements of tempered glass, the Glass Association of North America provides extensive documentation on safety standards.
Common Mistakes to Avoid
Many homeowners underestimate the torque a glass panel can exert on a support arm. A common error is installing the support bar at an angle rather than perfectly vertical.
If the bar is tilted, it creates a constant lateral force on the glass clamp, which can cause the glass to shift or the adhesive seal at the bottom to break. Always use a level during the installation to ensure the bar is plumb.
Another mistake is failing to use the provided protective gaskets. Some installers assume that metal-on-glass contact is acceptable if the screw is tight, but this is a recipe for a hairline fracture.
Even if the hardware feels secure without the gaskets, the expansion and contraction of the house over time will eventually cause the metal to grind against the glass. Keep your protective sleeves and rubber pads in place to ensure a long-lasting, safe hold.
Types of Support Bar Configurations
Not all shower configurations require a ceiling-to-glass connection. Some systems use wall-to-glass support bars, which attach to the side wall and extend horizontally to the panel.
This is often preferred if your shower has a high ceiling or an angled roofline where a vertical bar is impractical. However, for very tall or wide walk-in panels, a ceiling mount is superior because it provides a direct vertical anchor.
* Telescopic Ceiling Arms: Ideal for varying ceiling heights and easy DIY adjustment.
* Fixed Length Bars: Often used in custom commercial applications where dimensions are strictly controlled.
* Wall-to-Glass Braces: The best choice for showers where the glass is installed far from a ceiling joist.
* Pivot Support Arms: Designed for panels that may need to swing or move slightly during maintenance or cleaning.
Maintaining Your Shower Hardware

Hardware maintenance is often ignored until a problem arises. To keep your support bars in top condition, wipe them down weekly with a soft, damp cloth to prevent soap scum buildup.
Avoid harsh chemical cleaners or abrasive scouring pads, as these can strip the finish from plated hardware. If you live in an area with hard water, consider using a specialized glass cleaner that won’t etch the metal surfaces.
Check the tightness of your fasteners every six months. Temperature fluctuations in a bathroom can cause screws to loosen slightly over time.
A quick check of the set screws on the glass clamp and the ceiling flange will prevent any rattling or movement. By performing this simple maintenance, you ensure the long-term reliability of your glass enclosure.
Frequently Asked Questions
How do I know if my glass panel needs a ceiling support?
If your glass panel is over 30 inches wide or 80 inches tall, it will likely experience significant flexing without a support. If the panel feels unstable when you push on it near the top, you should install a support arm to prevent structural damage.
Can I install a support bar without drilling into the ceiling?
In most cases, no. A secure connection requires a mechanical anchor to the ceiling structure to handle the weight and pressure. Adhesive-only solutions are generally not rated for the safety requirements of large, heavy glass panels.
What if my shower ceiling is slanted?
You will need a support arm with a pivoting ceiling flange. These specialized bars allow the bracket to sit flush against an angled surface while the rod remains perfectly vertical to the glass.
Are there rust-resistant options for high-humidity showers?
Yes, look for hardware made from 304 or 316-grade stainless steel. These alloys offer superior resistance to corrosion in high-moisture environments, ensuring the hardware won’t pit or rust over time.
Can I cut a telescopic support bar to size?
Yes, most telescopic bars are designed to be cut with a hacksaw or a metal-cutting blade. Always measure twice and use a file to smooth the edges before sliding the rod back into the housing.
Choosing the Right Solution
Investing in high-quality hardware is the most effective way to protect your bathroom investment. The best Ceiling Support Arms for Stabilizing Tall Walk-In Glass Panels combine durable materials with precise engineering, giving you peace of mind that your shower is both safe and stylish. Whether you choose a matte black finish for a modern update or brushed nickel for a classic look, ensure the product you select is rated for the weight and thickness of your specific glass panels.
By following proper installation techniques and performing regular maintenance, you will enjoy a stable, beautiful, and functional walk-in shower for many years. Start by measuring your ceiling height and identifying your structural mounting points today to find the perfect fit for your home.