
Minimum Floor Slope (Pitch) Needed Towards the Drain for Doorless Showers
Achieving the correct minimum floor slope (pitch) needed towards the drain for doorless showers is the most critical step in ensuring your bathroom remains dry and functional. When you remove the curb, you lose the primary physical barrier that prevents water from escaping into the rest of the room.
A precise, consistent angle is required to guide water efficiently toward the plumbing, preventing pooling and potential structural water damage. By understanding the standard requirements for water flow and the mechanics of a proper mud bed, you can ensure your project meets safety codes while providing a modern, accessible, and leak-free bathing environment for your home.
The Standard Slope Requirement
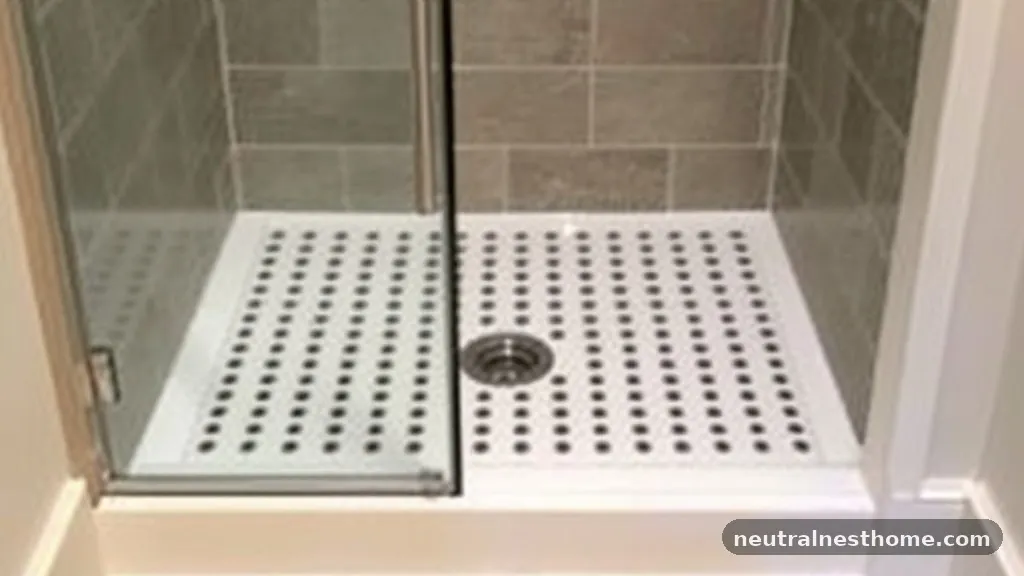
The industry-standard minimum floor slope (pitch) needed towards the drain for doorless showers is typically set at 1/4 inch per foot. This ratio ensures that water moves with enough velocity to overcome surface tension and debris, forcing it into the drainage system. If the slope is any shallower, water may sit on the tile surface, creating slip hazards and potential mildew growth.
Building codes, such as those outlined by the International Code Council, emphasize this measurement to prevent water migration. While 1/4 inch is the baseline, many professionals recommend slightly steeper pitches for large-format tiles or areas where high water volume is expected. Consistency is more important than the exact degree of the slope; a wavy or uneven floor will trap water regardless of how steep the average pitch might be.
Why Precision Matters for Curbless Entry
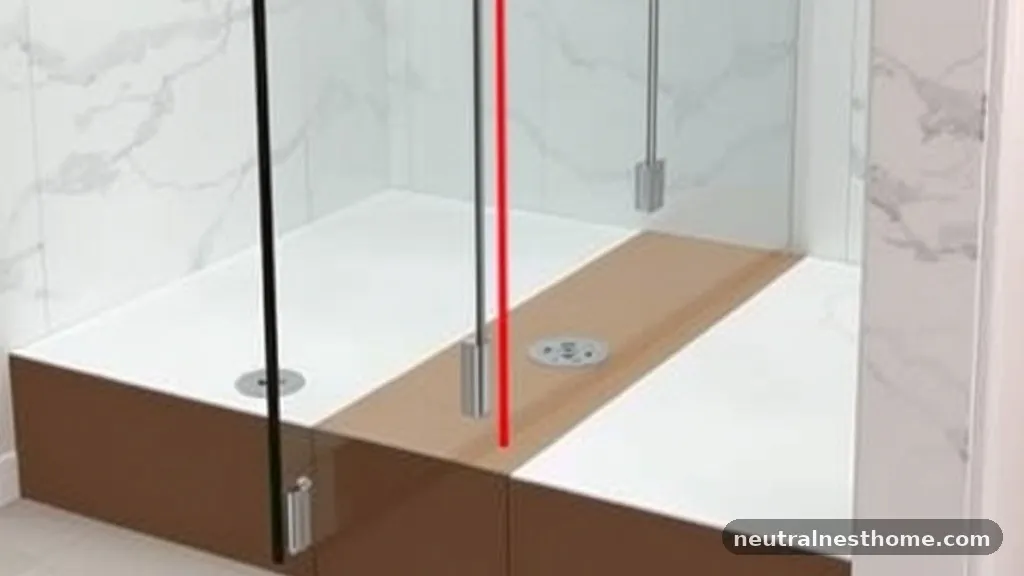
In a traditional shower with a curb, a slight error in grading might only result in a puddle that eventually evaporates. In a doorless, curbless configuration, that same error leads to water flowing directly onto your bathroom floor. Because there is no vertical threshold to contain the spray or runoff, the slope acts as the only line of defense.
Even a minor deviation from the required pitch can cause water to “wick” along the grout lines. Over time, this leads to moisture saturation under the tile, which can compromise the integrity of the subfloor. Achieving the correct minimum floor slope (pitch) needed towards the drain for doorless showers is therefore a structural necessity rather than just a cosmetic preference.
Calculating Slope for Different Shower Sizes
Calculating the total drop required for your shower floor is a simple exercise in geometry once you know your dimensions. For a standard 3-foot by 3-foot shower, a 1/4-inch slope per foot means the perimeter of the shower floor must be 3/4 of an inch higher than the drain grate. If your shower is 4 feet long, the perimeter must sit 1 inch higher than the drain.
Common Slope Measurements
| Distance from Drain (Feet) | Minimum Required Drop (Inches) |
|---|---|
| 1 Foot | 1/4 Inch |
| 2 Feet | 1/2 Inch |
| 3 Feet | 3/4 Inch |
| 4 Feet | 1 Inch |
These calculations assume a perfectly centered drain. If you are using a linear drain located at one end of the shower, the math changes because the slope only needs to run in one direction. Always verify your specific layout before pouring your mud bed, as modifications are nearly impossible once the materials have cured.
The Role of the Mud Bed in Drainage
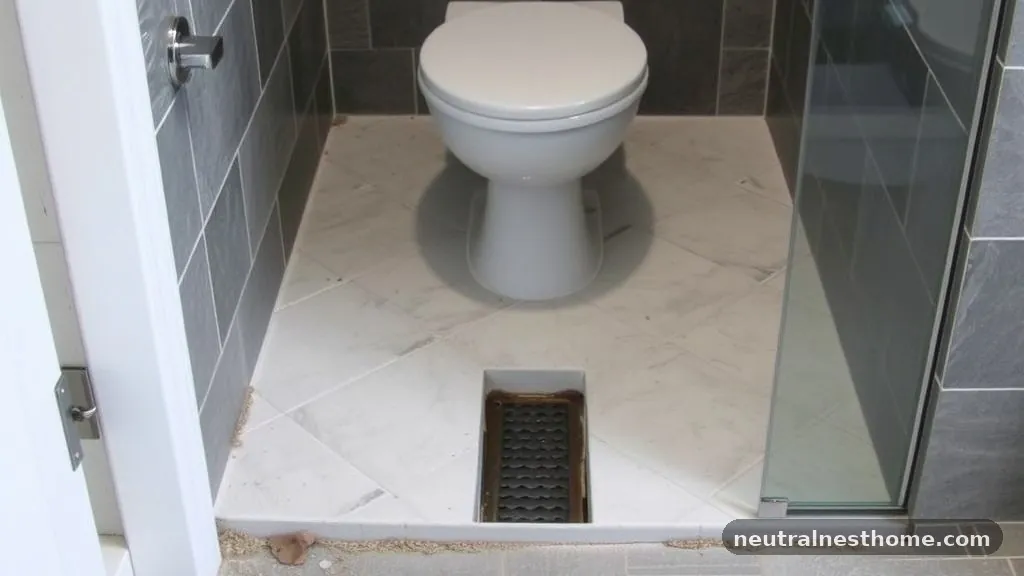
The mud bed is the foundation of your shower floor, providing the physical shape that directs water toward the exit. Most installers use a mixture of sand and Portland cement to create this sloped surface. Before you begin the tiling process, you must ensure this bed is cured and structurally sound.
If the mud bed is installed incorrectly, no amount of high-quality tile or waterproofing will save the installation from drainage issues. Professionals often use screed strips—long, straight pieces of wood or metal—to act as guides. By setting these strips at the correct height, you can pull a straightedge across the surface to create a perfectly uniform slope every time.
Selecting the Right Drain Type
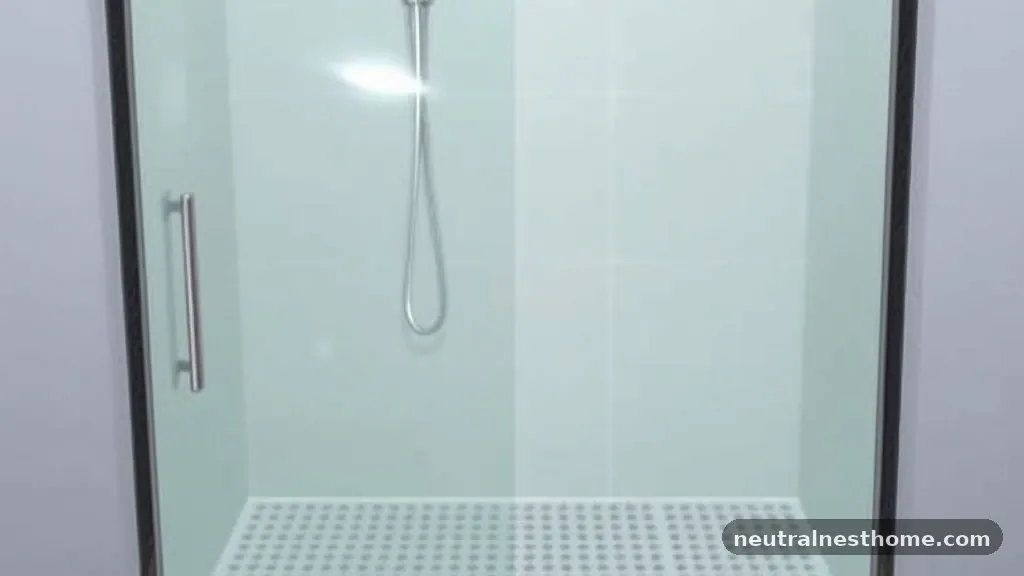
The type of drain you choose heavily influences how you approach the floor slope. A traditional center drain requires a “four-way” slope, where the floor angles down toward the center from all four walls. This creates a complex geometric pattern that can be difficult to tile with large-format stone or ceramic.
Linear drains have simplified the construction process for many modern bathrooms. Because a linear drain sits against a wall or at the entrance, the floor only needs to slope in one single direction. This makes it much easier to maintain the minimum floor slope (pitch) needed towards the drain for doorless showers while using larger, more aesthetically pleasing tiles.
- Center Drains: Require a conical, four-way slope; best for smaller, square showers.
- Linear Drains: Require a single-plane, one-way slope; ideal for large, curbless walk-ins.
- Tile-In Drains: Offer a flush finish but require precise height adjustments during the mud bed phase.
- High-Flow Drains: Essential for showers with multiple heads to prevent water backup.
ADA Guidelines and Accessibility
When designing for accessibility, the slope becomes even more critical. The Americans with Disabilities Act (ADA) has specific standards for shower floors to ensure they are safe for users with mobility aids. While the ADA generally aligns with the 1/4-inch-per-foot rule, it also mandates that the surface itself must be slip-resistant.
Excessive slopes can actually be dangerous for someone using a walker or a shower chair. A slope that is too steep makes it difficult for a wheelchair user to maintain balance or navigate the space. Balancing the need for rapid water drainage with the need for a stable walking surface is the hallmark of an expert installation.
Managing Subfloor and Structural Issues
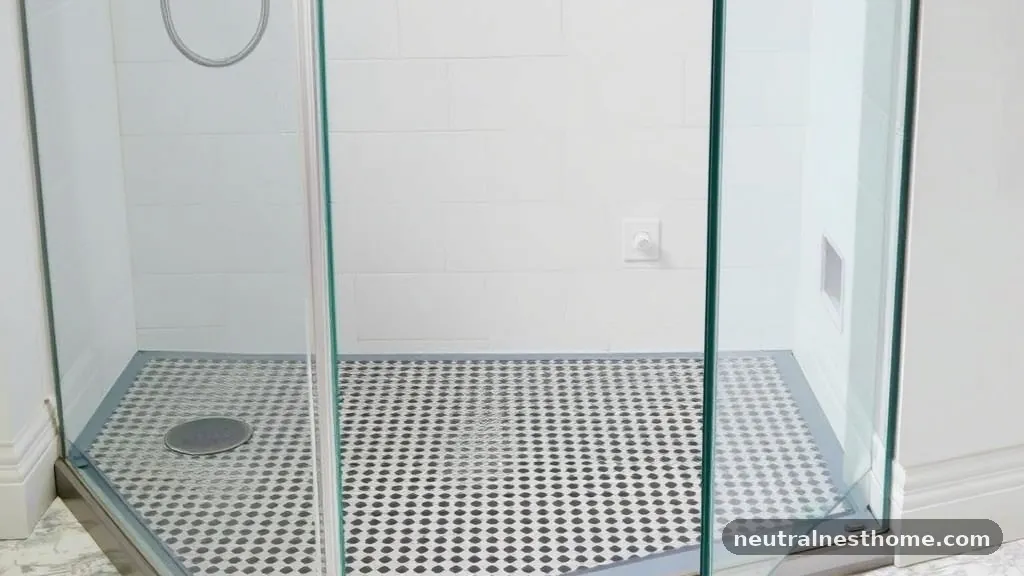
Before you worry about the pitch, you must address the subfloor. If you are installing a curbless shower on a wood-framed floor, you often need to lower the joists to accommodate the thickness of the mud bed and the tile. This is a significant structural undertaking that requires careful planning.
If you don’t lower the joists, you may be forced to raise the entire bathroom floor, which creates a trip hazard at the bathroom door. Always consult with a structural engineer if you are cutting into floor joists to create the necessary depth for your shower pan. Ignoring these structural realities often leads to “pond” areas where water refuses to move, regardless of your slope calculations.
Avoiding Common Construction Mistakes
Many DIYers fail because they attempt to create the slope using only thin-set mortar during the tiling phase. Thin-set is meant for bonding, not for building up the floor height. If you try to correct a flat floor by applying thick layers of adhesive, the tile will eventually crack, and the slope will likely be uneven.
Another common mistake is failing to account for the thickness of the waterproofing membrane. Whether you are using a liquid-applied membrane or a sheet-based system, these layers add height to your floor. Always subtract the thickness of your waterproofing and your tile from your total depth calculations to ensure your finished surface ends up at the correct, sloped elevation.
Frequently Asked Questions
Can I use a slope steeper than 1/4 inch per foot?
Yes, you can use a steeper slope, but keep in mind that it can make the shower floor feel uneven underfoot. For most residential showers, anything beyond 1/2 inch per foot is generally unnecessary and may create comfort issues for the user.
What happens if my shower floor is perfectly level?
A level floor is a major problem in a shower. Without a pitch, water will pool in the center or migrate toward the edges of the room, leading to standing water, mold, and damage to the surrounding walls and flooring.
Do linear drains require a different slope angle?
The 1/4-inch-per-foot rule still applies to linear drains. The main difference is that the slope is unidirectional rather than multi-directional, which simplifies the tiling process significantly.
How do I check the slope before I tile?
You can perform a “flood test” by pouring a bucket of water onto the floor and observing where it flows. If the water moves rapidly toward the drain without leaving puddles, your slope is likely sufficient.
Is it possible to achieve a curbless shower on a concrete slab?
Yes, but it requires cutting into the concrete to create a recessed area for the drain and the slope. This is a labor-intensive process that often requires a concrete saw and a professional contractor to ensure you don’t hit plumbing or structural steel.
Final Takeaways
Getting the slope right is the difference between a high-end, functional bathroom and a constant maintenance headache. By strictly adhering to the 1/4-inch-per-foot requirement, you ensure that water moves efficiently toward the drain without compromising the safety or stability of your floor. Remember that the mud bed is your most important tool in this process; spend the time to get the pitch perfect before you lay a single tile.
If you are uncertain about the structural requirements for a curbless entry, consult a professional to avoid costly repairs down the road. Achieving the proper minimum floor slope (pitch) needed towards the drain for doorless showers is a skill that rewards patience, careful measurement, and a commitment to quality construction.